
 Two years ago, I wrote a blog post for another site declaring my intention to cloth diaper. I called it the final frontier of Attachment Parenting for us. This month I'm embracing the final frontier for my family's switch from paper/disposable good dependency to reusable items: making mama cloth.
I feel the need to preface this by admitting that I've been apprehensive about the switch. I felt like mama cloth was sorta gross. I mean didn't women endure "the rag" for years? Why in god's name would I want to deal with that? Don't we have advances in technology and industry so we don't have to deal with these inconveniences? And then I realized, these are all the arguments people use to justify disposable diapers! It was like a slap in the face. Suddenly it only made sense to me.
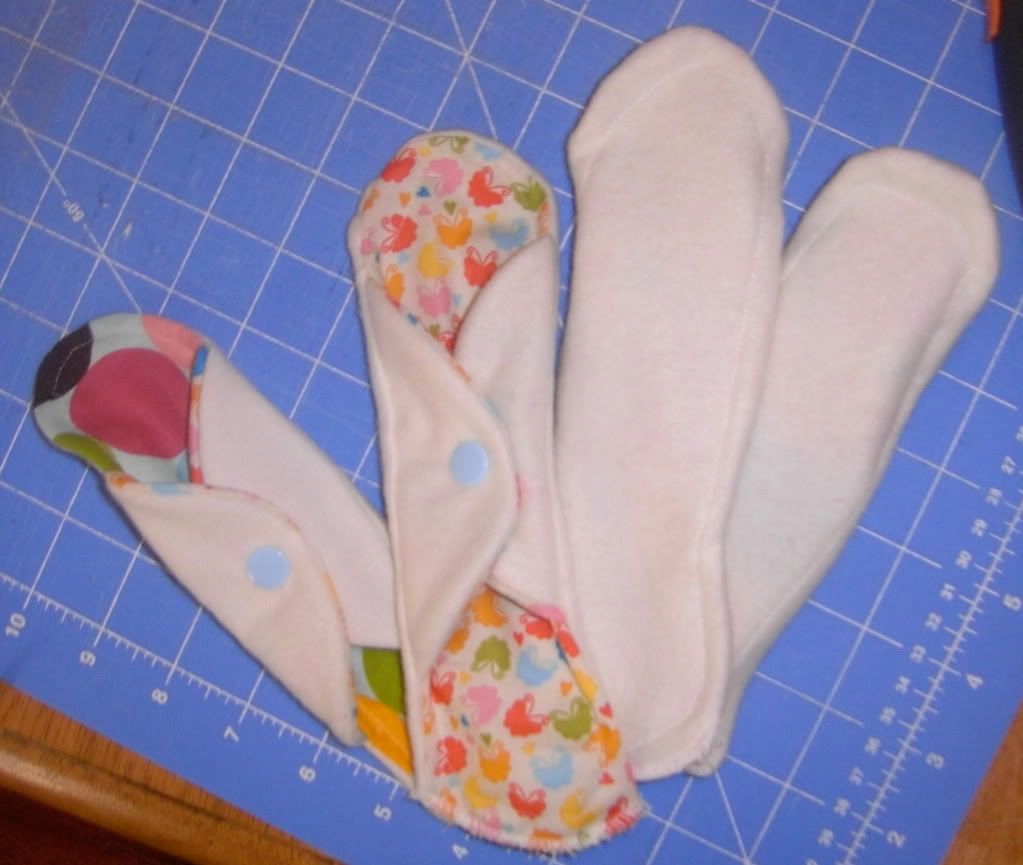
I'm starting out slowly. I made some pantiliners for this month. I'm hoping that I will get addicted to mama cloth and become obsessed with making it (fingers crossed). My mama cloth skills need some work. The tabs are a little crooked and the shape is off, but it's a start.
So without further ado, here are some simple directions for making mama cloth. I used a serger, turned the pad, and then top-stitched to prevent funny bunching. Remember, you can always sew the outside with right sides together, turn right side out and top stitch with your sewing machine if you don't have a serger.
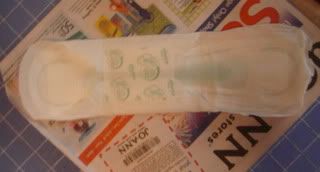
I used a pad I had around the house to sketch a template for the mama cloth.
I used a pad I had around the house to sketch a template for the mama cloth.
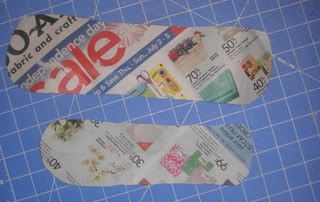
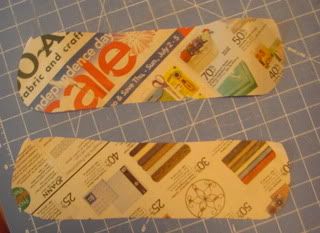 I cut two, so that I could trim one down to pantiliner size. The original will serve for making full pads later.
.
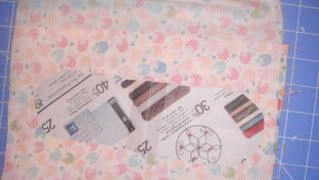
Since it is so lightweight, I was able to layer all the cotton print and cut the pattern at once. I repeated this step with the bamboo fleece I used for the inner lining.
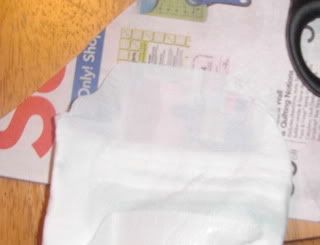
Taking the ad, I traced wings from the pad and cut out a layer from both the cotton and bamboo fleece.
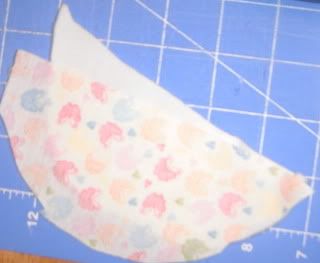

I serged the tab pieces together first.
 Turn the tabs and then place the print side on the right side of the cotton print pad cut.
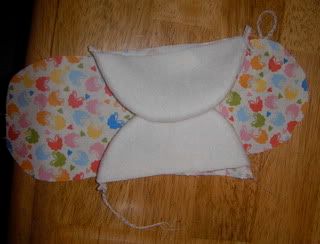
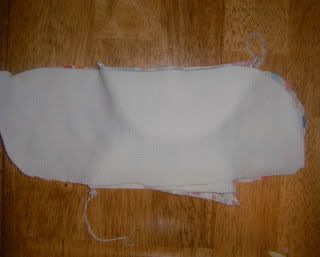 Then place the fleece cut wrong side up over the pad cut and tabs.
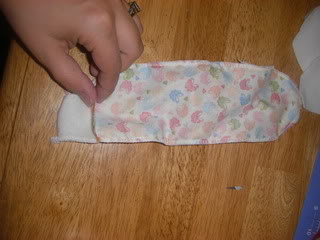 I serged it all together, leaving one end open to turn it right side out.
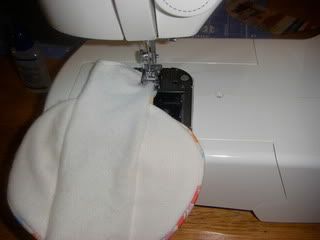 Then serge the open end, lock your blade and repeat the serge.
  Top stitch with your sewing machine along the length of the pad.
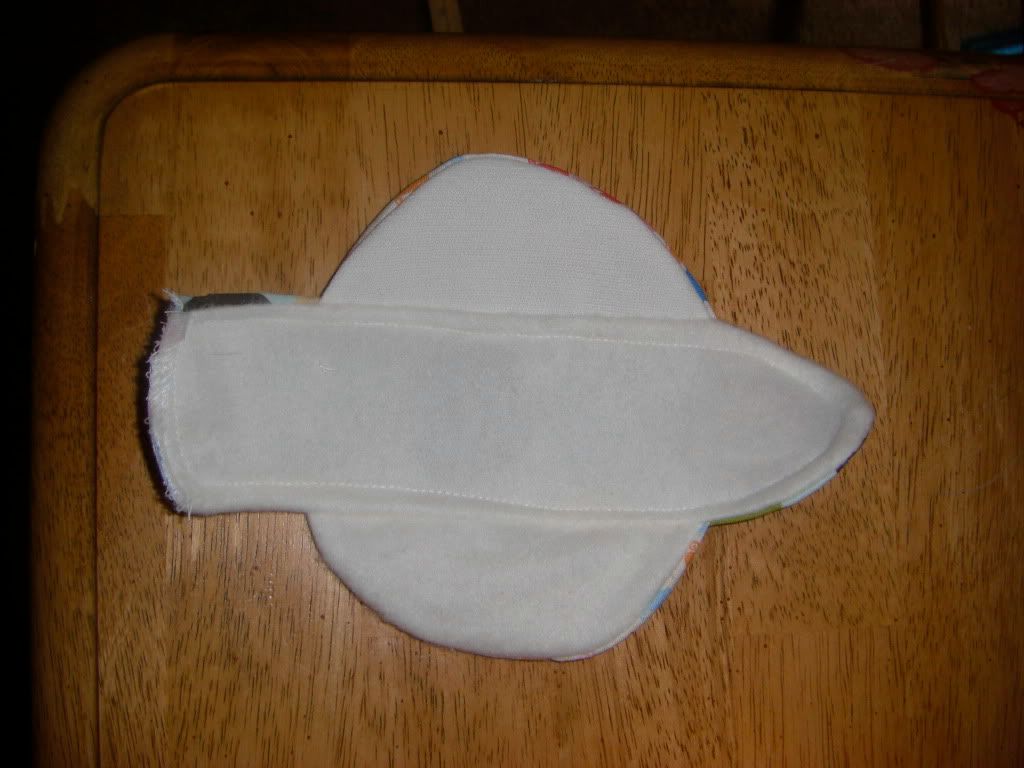
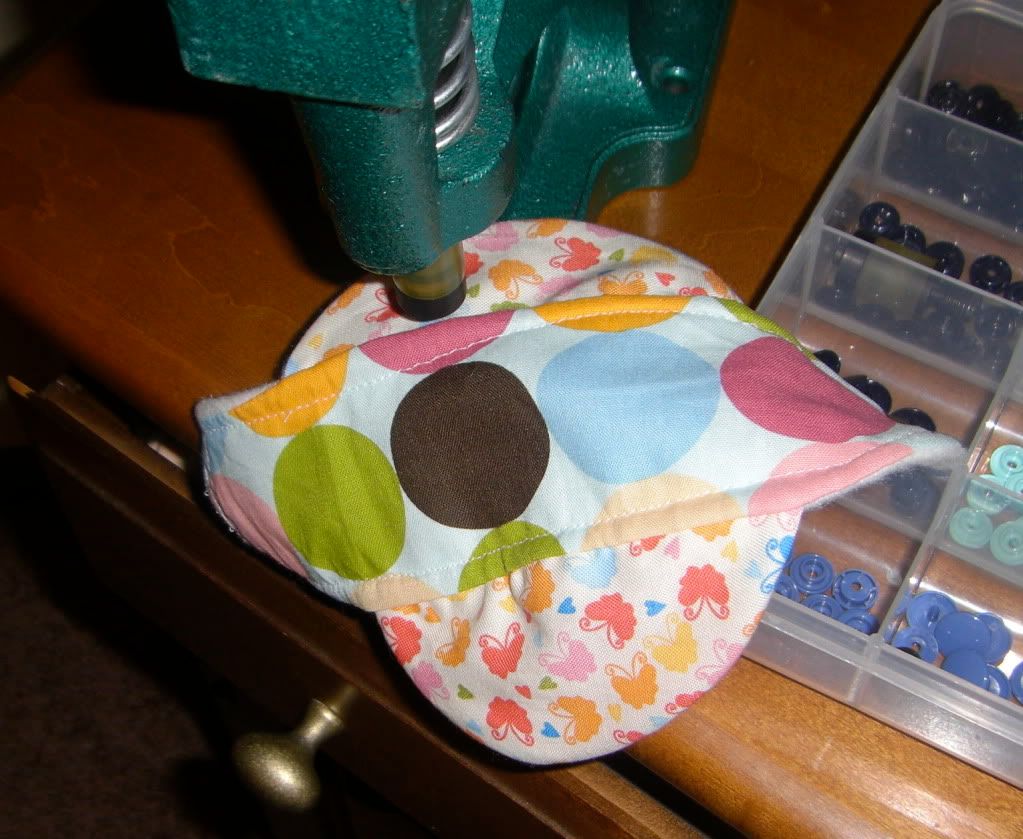 Use a snap press to add snaps to the wings to hold it in place. Don't have an industrial press? You can use velcro, sew in snaps from the notions aisle, or buy a hand-held press and metal snaps in the notions aisle!
I'll be sure to let you know how it goes!

2 comments:
Not sure if you crochet or not but if you do, there is a whole movement of eco-friendly women who crochet their own reusable tampons. I know you won't be able to use them right after the baby is born, but you may want to look into it for the future. The crochet forum on craftster.org has a lot of tutorials about it.
I'm not sure how I feel about the reusable tampon thing. I unfortunately knew a woman who died from toxic shock, so I'm not very pro tampon. I actually rarely used tampons after DS was born. I had a diva cup for a while, but it didn't work out :) I will definitely check out the crocheted tutorials though.
Post a Comment