Showing posts with label tutorial. Show all posts

Tuesday, December 14, 2010

Fun Toddler Holiday Craft

**Spoiler Alert** Mom and Dad: This post contains Christmas gift spoilers! Please go stalk me elsewhere on the internet, or at least act surprised on Christmas day!

Connected mom Jenn wrote a fabulous 'how to' a few weeks ago for a holiday that doesn’t break the bank, and reconnects us with community and loved ones in a way that is truer to the original spirit of the season. One of her many awesome suggestions was to make ornaments and decorations with your children.

The Christmas trees of my childhood were far from the shimmering glamorous monoliths in stores and catalogs. Our fake tree stood barely 4ft tall. None of our ornaments matched any others on the tree, and no one cared whether they were evenly placed, or even if they were still intact. It just mattered that they all made it on the little tree, because almost every single one of them was made with love and enthusiasm by us kids. Among my favourites were the painted green bow-tie pasta wreath with my little sister’s dorky grin picture in the centre, my brother’s prized clay teddy bear that made me giggle because I thought it looked more like a Christmas turd than a Christmas bear (but I wouldn’t actually TELL him that to his face), and the genius Rudolph reindeer I fashioned from pantyhose, pom-poms and pipe cleaners.

I dream of one day hanging Oliver’s home made ornaments from the branches of my tree, whether they are beautifully crafted or look more like Christmas turds, I just can’t wait to retell their stories every year, and to see his skills and creativity grow and change from one ornament to the next. As well as filling my own tree with Oliver’s creations, this year I want to supply my parents with more home made goodness to add to the collection (my dad doesn’t set up the tree every year anymore, but I know those ornaments are still packed away somewhere). So about $20 at the craft store and a few hours* later I have made 6 (one for me & one for each set of Oliver’s grandparents, and one extra in case I break one) of these cute and simple hand print ornaments.

Please note that the use of these as holiday ornaments is totally optional, they also make great keepsakes to hang in your office or home all year round!

*I say a few hours, and in total it was maybe an hour or two worth of work, but it was completed over the course of an entire day. For younger children I highly recommend breaking the project into several manageable tasks to avoid them (and you!) loosing interest or becoming frustrated!


You will need:

• One package of oven-bake clay
• Rolling pin
• Round cookie cutter or cup just bigger than your child’s hand
• Small alphabet stamps (optional)
• Small metal eye hooks
• One glass or metal baking sheet
• Soft sponge or paint brush
• Acrylic craft paint in colour of your choice (optional)
• Glitter, gloss, or shimmer finishing paint (optional)
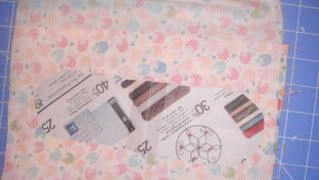
• One roll of fabric ribbon to match your paint choice

Your child can help with any one of these steps depending on their age, with the exception of step 4, I’ll leave you to decide which parts you will need their help for!

Oliver 'rolling' baking clay
1) Carefully read the package instructions of your oven-bake clay as preparation may vary from brand to brand.
2) Work your clay until it starts to soften up then roll it out to about a quarter to half an inch thickness and cut rounds with cup or cookie cutter.
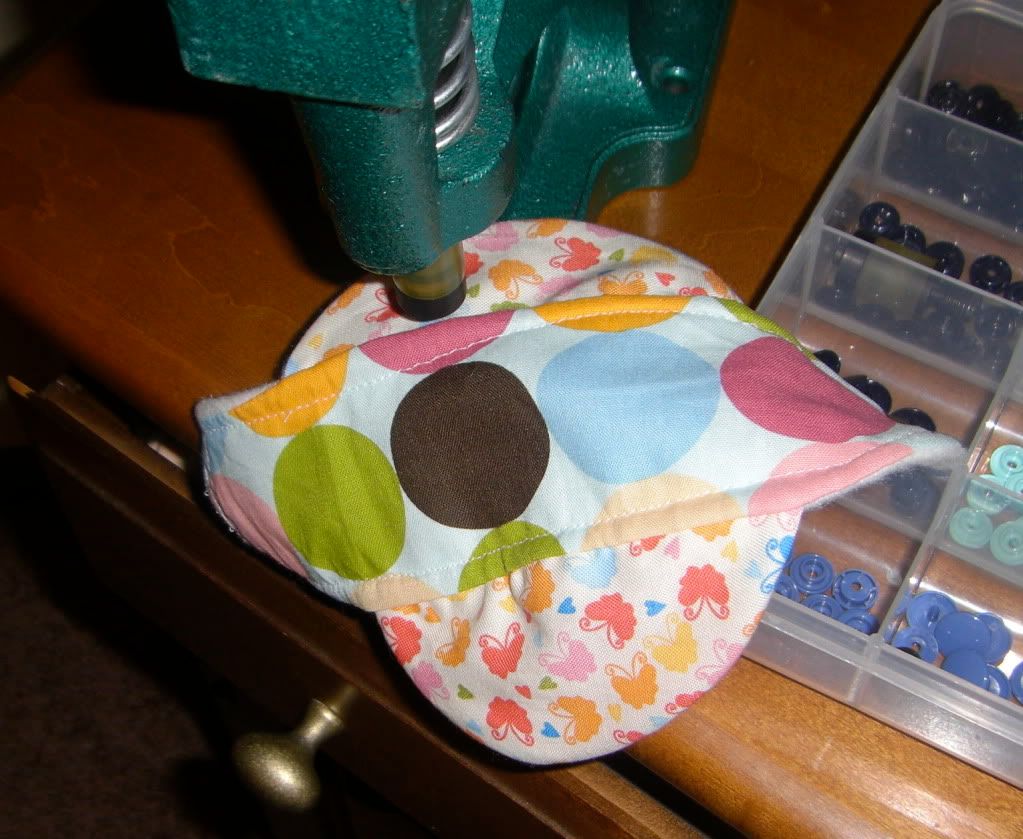
3) Place eye hooks into the top of every round at about “10 and 2”
Oliver wasn't so sure about this part!
4) Wash your child’s hands thoroughly then gently press into the centre of each clay round. (Make sure to wash them thoroughly afterwards as well! I learned the hard way that baking clay leaves a greasy residue that can ruin clothing and furniture!)
5) (optional) Using stamps, or the end of a toothpick or pencil, write your child’s name and the year (example: Oliver 2010) either above/below the hand print or on the back of each round. I started out using a pencil to carve Oliver’s name into the ornament. I didn’t really like the result and ended up using a Gold craft marker to write on the rest of my ornaments after the fact. I think I would have preferred the effect that alphabet stamps would have.
Our first ornament ready for the oven
6) Place rounds on a glass or metal baking surface and bake as per package instructions to set the clay.
7) Once rounds have been removed from oven and cooled you can paint them, or leave them plain and skip to step 11.
8) Using acrylic craft paint and a small sponge or brush, paint the front of your ornament. I used a rag to lightly wipe away some of the paint after application to create more contrast in the hand print and make it more visible.
9) Let paint dry then flip ornaments over and paint the other side.
10) When all paint is dry repeat steps 8 and 9 with a glitter/gloss/shimmer finish if desired, and let dry. I used a “diamond effect” sheer acrylic glitter paint to finish mine and I love the way they catch the light.
11) String your ribbon through the eye hooks to create a nice hanger for your ornament.


Finished ornaments hanging in the afternoon sun


What are your favorite holiday crafts to do with your children? Do you have any holiday traditions designed to create memories and keepsakes?

Monday, September 20, 2010

Toddler Time: Toddler-Friendly Crayon Tutorial

My local library has these awesome disc crayons at one of their play stations, and I just love them.
1. They're a mix of colors, so they make cool pictures
2. They're easy to grip
3. They don't break into teeny tiny pieces as easily if you step on them in the dark

So we made some. School supplies are on sale, so the entire project cost 50 cents! I used about 30 crayons for 6 discs. Or use up all those bits of crayons from the ones you stepped on in the dark!

First you need to peel the wrappers. I used a craft knife to slice a line down the wrapper. About half came out easily this way. If I had thought of it I would have popped the crayons into my freezer to help loosen the wax from the wrappers.


Then I broke them up into colors families. Connected Son has his own muffin tin for his kitchen, so we used it. I would probably use a nonstick pan or muffin cups if you don't have a play tin, because it will leave some wax on non-coated pans.


Bake for about 25 minutes at your oven's lowest setting. My midwife made some this summer by leaving the pan in her car!

Let cool and pop into freezer for 30 minutes. They'll pop right out with a little help from a butter knife.

Connected Son was awed when he saw his. He absolutely loves them.

Tuesday, January 26, 2010

The Final Frontier: Mama Cloth Tutorial

Note: This tutorial was originally posted on my sister blog, EcoMomics. As luck would have it, I found out I was pregnant a few days later, so I haven't gotten to test these out quite yet!

Two years ago, I wrote a blog post for another site declaring my intention to cloth diaper. I called it the final frontier of Attachment Parenting for us. This month I'm embracing the final frontier for my family's switch from paper/disposable good dependency to reusable items: making mama cloth.

I feel the need to preface this by admitting that I've been apprehensive about the switch. I felt like mama cloth was sorta gross. I mean didn't women endure "the rag" for years? Why in god's name would I want to deal with that? Don't we have advances in technology and industry so we don't have to deal with these inconveniences? And then I realized, these are all the arguments people use to justify disposable diapers! It was like a slap in the face. Suddenly it only made sense to me.

I'm starting out slowly. I made some pantiliners for this month. I'm hoping that I will get addicted to mama cloth and become obsessed with making it (fingers crossed). My mama cloth skills need some work. The tabs are a little crooked and the shape is off, but it's a start.

So without further ado, here are some simple directions for making mama cloth. I used a serger, turned the pad, and then top-stitched to prevent funny bunching. Remember, you can always sew the outside with right sides together, turn right side out and top stitch with your sewing machine if you don't have a serger.


I used a pad I had around the house to sketch a template for the mama cloth.


I cut two, so that I could trim one down to pantiliner size. The original will serve for making full pads later.


.
Since it is so lightweight, I was able to layer all the cotton print and cut the pattern at once. I repeated this step with the bamboo fleece I used for the inner lining.


Taking the ad, I traced wings from the pad and cut out a layer from both the cotton and bamboo fleece.


I serged the tab pieces together first.


Turn the tabs and then place the print side on the right side of the cotton print pad cut.


Then place the fleece cut wrong side up over the pad cut and tabs.


I serged it all together, leaving one end open to turn it right side out.


Then serge the open end, lock your blade and repeat the serge.


Top stitch with your sewing machine along the length of the pad.


Use a snap press to add snaps to the wings to hold it in place. Don't have an industrial press? You can use velcro, sew in snaps from the notions aisle, or buy a hand-held press and metal snaps in the notions aisle!

I'll be sure to let you know how it goes!